A strong electronic production starts with a clear musical idea, a controlled low end and enough space for the hook. These music production tips give you a repeatable way to develop a loop, design supporting sounds and finish a mix without adding another layer every time something feels missing.
1. Decide what the listener should remember
Play your loop with only drums, bass and the main hook. If the identity disappears, the arrangement may depend too heavily on decoration. Write a one-sentence brief: “A restrained verse opens into a bright synth chorus with a processed vocal.” Use that brief to decide which sounds belong.
Give each part a job. A pad can supply harmony, an arpeggio can provide movement and a vocal can carry the phrase. When two parts compete for the same job, mute one before reaching for an EQ.
2. Build an arrangement before polishing every sound
Duplicate the loop into a rough verse, transition and chorus. Change the density between sections: remove a drum layer, shorten the bass notes or leave a beat of silence before the return. A chorus can feel larger because the preceding section is smaller.
Try this exercise: make a complete two-minute sketch using only six musical parts. You can add detail later, but the restriction makes weak transitions easier to hear.
3. Let the kick and bass share the low end
Listen to their timing as well as their frequency content. A bass note that ends just before the next kick may solve a collision without extra processing. If the bass needs to sustain, experiment with gentle sidechain ducking and adjust its release to the groove.
Avoid copying a fixed EQ cut into every track. The useful move depends on the notes, kick sample and arrangement. Check whether the bass remains audible on a small speaker; a controlled upper-harmonic layer may communicate its rhythm better than more sub level.
4. Design synth sounds inside the track
A huge solo patch can occupy the space needed by a vocal. Reduce unison, shorten release or lower an effects mix while the other parts play. Make one change at a time, then compare at a similar perceived volume.
For a practical starting point, follow the Serum patch-design guide. The aim is a sound that works in an arrangement, not a preset that wins a loudness contest.
5. Treat the processed vocal as a performance
I first built effect chains in Ableton and Reaper to emulate the Sennheiser VSM 201 vocoder. The chains became too cumbersome, so I created a dedicated VST modelled on the VSM 201. That instrument is the personal starting point for this Journal's exploration of electronic voices: the sound is something to construct and perform, as well as something to mix.
For your own production, record a clean vocal before adding space effects. Compare different articulation, note lengths and carrier registers. Keep the dry recording so you can change the processing later. Read the VSM 201 article for the filter-bank background, or explore the difference between a talkbox and a vocoder.
6. Use headroom as working space
Keep recording inputs and the final output from clipping. Ableton's manual distinguishes its floating-point internal headroom from physical outputs and exported audio: a red internal track meter is not the same situation as clipping an audio-interface input. Also check individual processors, especially when adding drive or changing presets.
There is no single peak number that makes a mix professional. Leave room to work, and compare references at matched listening levels rather than trying to equal their mastered loudness during production.
7. Finish with a short listening pass
- Listen from start to finish without editing. Write down the three most distracting issues.
- Check the vocal, bass and hook in mono. Investigate important parts that become unexpectedly weak.
- Listen quietly and on a second playback system.
- Export a dated version and confirm the ending, reverb tail and absence of accidental silence.
Do I need more plugins to improve my productions?
Start by identifying a specific limitation. If the problem is an overcrowded chorus, another processor may not help. Arrangement, performance and a useful patch often produce a more decisive improvement.
Explore my music and videos for the artist context behind this production Journal.
Technical reference
Ableton Live 12 manual: Mixing. The exercises above are suggested starting points, not settings from one of my released tracks.
Cover image
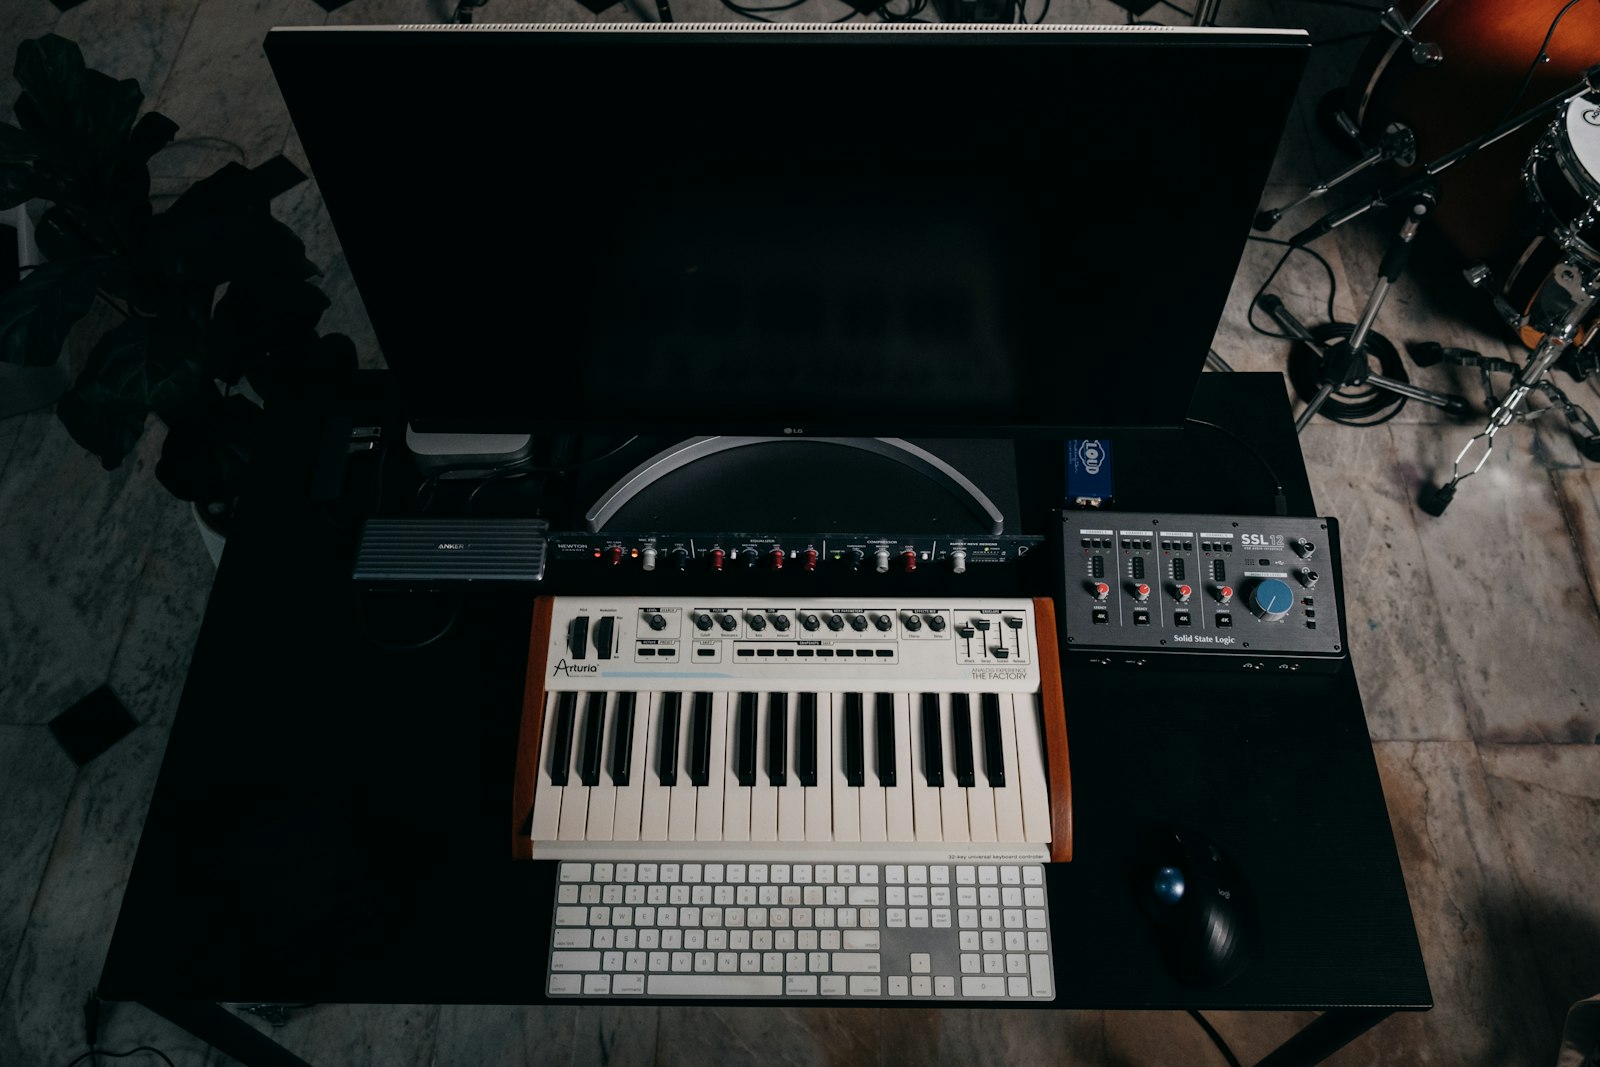
Illustrative music-production workspace; not a photograph of my studio. Photo by Rylan Kealey / Unsplash. Unsplash License. Resized for web; no creative edits. Illustrative studio, not my studio. License: Unsplash License.