To create your own Serum patches, start with an initialized preset, choose a musical role and build the sound in stages. Work on the oscillator and amplitude envelope first, then the filter, modulation and effects. This makes the result easier to understand, play and reuse.
This guide uses Serum 2 terminology. The main ideas also apply to Serum 1, although the routing and available modules differ. The example settings are starting points to adjust by ear, not a downloadable preset or a reconstruction of a released track.
Start with a purpose and an init preset
Choose one role: a short bass, a sustained lead, a chord pluck or a vocoder carrier. In Serum 2, choose Init Preset from the main menu to return to a simple starting sound. Keep additional oscillators and effects out of the way while you work.
Use a short MIDI phrase that resembles the intended part. A patch designed around one held note can behave very differently across fast notes, large intervals or chords.
Build a simple synth pluck
- Choose the source. Use one sawtooth wavetable oscillator with one unison voice. Begin at a comfortable output level.
- Set the amplitude. For ENV 1, try an attack around 5 ms, decay around 350 ms, sustain at zero and release around 120 ms. Shorten or lengthen these values to fit the phrase.
- Add a low-pass filter. Enable the filter and confirm that the oscillator routes through it. Start with low resonance and a moderately closed cutoff.
- Create a separate brightness envelope. Assign ENV 2 to the cutoff. Try a short attack, a decay around 250 ms and zero sustain. Raise the modulation amount until each note opens clearly without becoming harsh.
- Test in context. Play it with the bass and drums. If it masks the vocal, reduce its brightness, register or note length before adding more processing.
Change only one stage at a time. Save an early version before trying a different wavetable, so you can compare the new character with the original idea.
Use modulation with a specific intention
An envelope can make a note brighten and settle; a slow LFO can create continuing movement. Decide which behaviour you need before assigning a source. For an evolving pad, try a small wavetable-position movement. For a tight pluck, keep the main motion tied to the note.
Listen through the full modulation range. A subtle change near one position may become aggressive elsewhere. If several sources affect the same destination, inspect the modulation matrix before compensating with another control.
Make macros useful during a performance
Give each macro a name that describes what you hear. “Brightness” can open the filter; “Space” can increase an effect mix; “Movement” can increase modulation depth. Keep their ranges restrained enough that both ends are usable.
Test minimum, midpoint and maximum positions while playing the full phrase. A macro that unexpectedly doubles the apparent volume makes sound comparisons difficult and can interrupt a performance.
Adapt the idea into a vocoder carrier
I first explored a VSM 201-inspired vocoder with effect chains in Ableton and Reaper. Those chains became too cumbersome, so I created a dedicated VST modelled on the VSM 201. The carrier remains a useful role to design a Serum patch for: it supplies the pitched material that a vocoder reshapes.
For a carrier experiment, make a second version with sustained notes and a harmonically rich waveform. Compare a narrow, stable sound with a wider unison version through your vocoder. Delay and reverb are easier to evaluate after you can hear the words clearly. This is a proposed experiment, not a claim that a particular Serum patch appears on one of my released tracks.
Save a patch you can find again
Use a name such as “PLK — Amber Pulse — v01” and add a description of the intended register, macro behaviour and purpose. Serum 2 lets you add ARTIST and DESC metadata before saving. Keep a separate version when a change creates a new musical role.
Why does my patch sound good alone but fail in a mix?
It may occupy too much space, sustain too long or overlap another important part. Bypass its effects, reduce the layers and check the arrangement. For more context, read the electronic music production workflow.
Listen to my music, or continue into the history of the Sennheiser VSM 201.
Technical references
- Xfer: Creating a New Sound
- Xfer: Oscillators and Filters
- Xfer: Serum 2 manual, modulation and envelopes
- Xfer: Saving Changes
Cover image
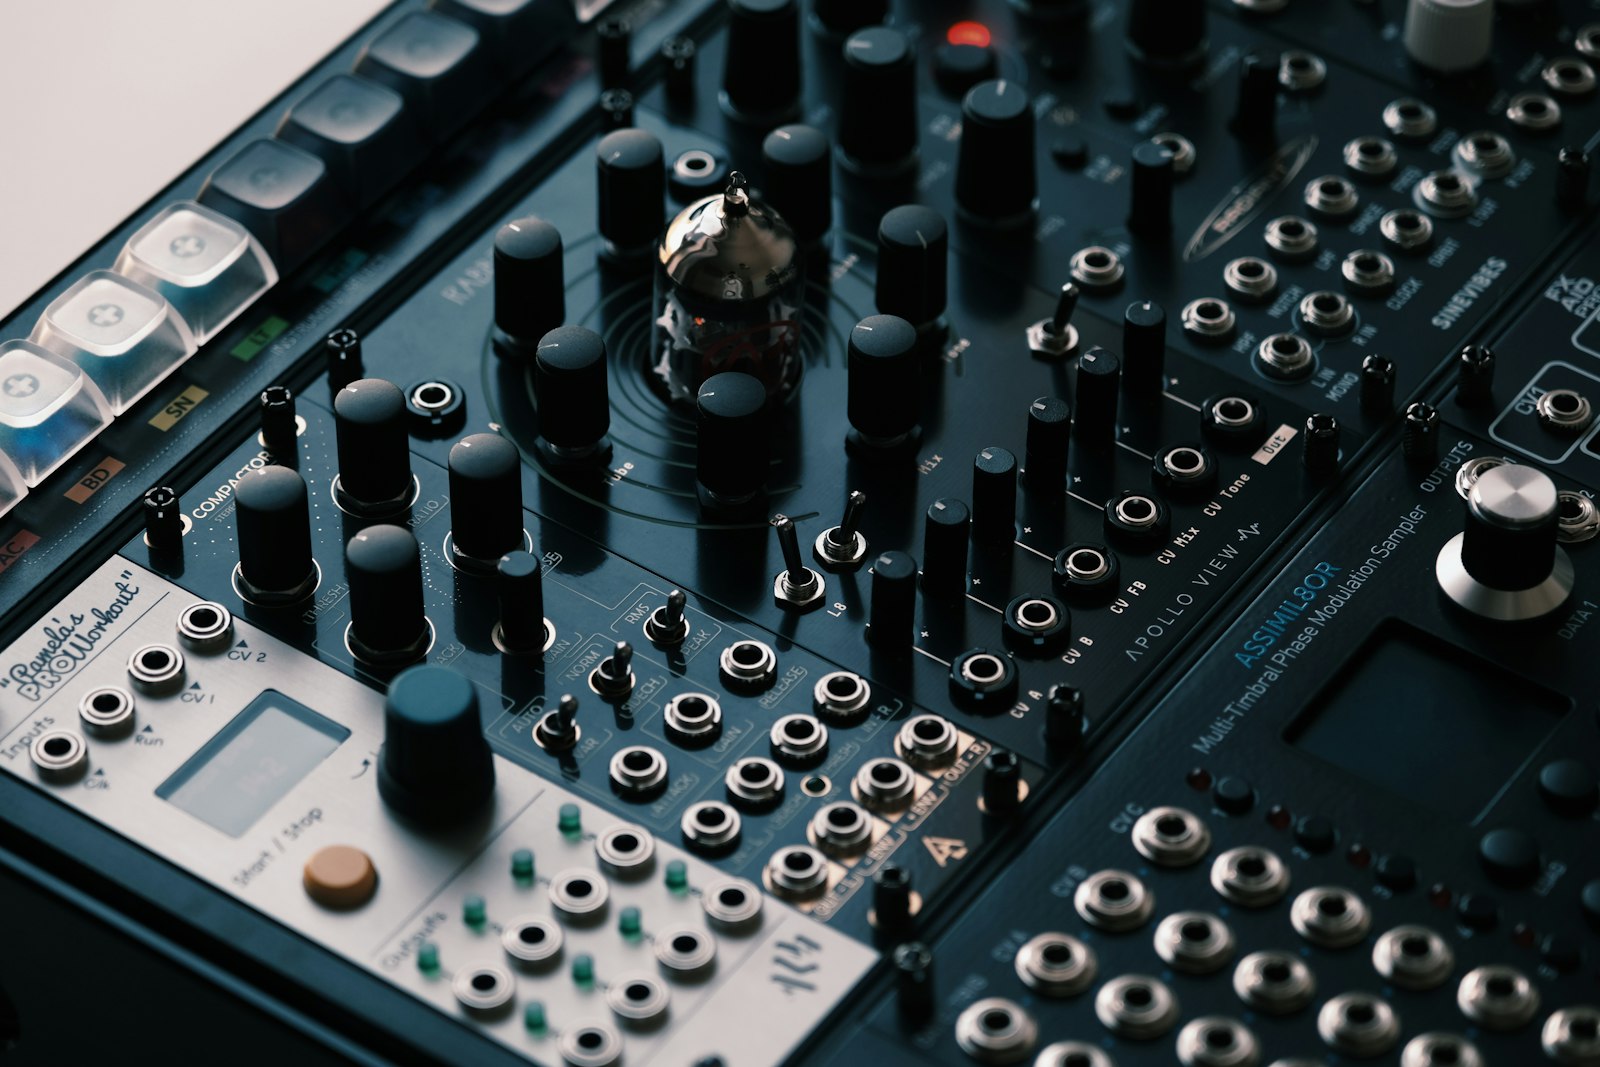
Hardware synthesizer controls used to illustrate sound design; this is not the Serum interface. Photo by Egor Komarov / Unsplash. Unsplash License. Resized for web; no creative edits. Hardware synthesis illustration, not the Serum interface. License: Unsplash License.